Friday, October 21, 2011

Happy Birthday Mom!

I know most of you don't know my mother but I love her! She can be random and crazy but we have so much fun together.
at the dinosaur park in Rapid City

 The only thing I don't like about my life is that my mother (and father) is so far away but lucky for me I will see them soon! So happy birthday mom! I hope you are enjoying it!


love,
Em

Hot Mess

My parents are coming to visit next weekend and this is the current state of our guest bed


As you can see it is currently being used as a dumping ground for all the the electrical components Daniel has been playing with. My solution to date has been to just close the door so that I can't see it but since I don't think my parents want to snuggle up with the box for our TV and some conduit everything will have to find a new home.  I promise you Mom and Dad, this will be fixed before you get here. Nothing like company to light a fire under your **ahem** rear.

Cheers!

Thursday, October 20, 2011

Paint Stirrer Mirror

Not going to lie, I love Starburst mirrors. I think they are fun and elegant and make a nice show piece for a blank wall. I love the one in my living room but I had another mirror laying around after that project that needed a home. Where else to turn but Pinterest. I had seen this one by Centsational Girl a few months back but had totally forgotten about it. A few trips to the hardware store later I had my mirror.


It was easy to do and free (since I had the gold spray paint and mirror on hand). Centasional Girl's tutorial is great. I only differed in a few ways. I used spray paint instead of regular paint and I didn't trim the curved edges off of the paint sticks. I like the lighter amount of sticks I used also, her's is much more dense. It fits perfectly on the wall in the bathroom. The gold plays nicely with the brass fixtures of the tub and the mirror adds light. Got to love a quick and easy project!

Cheers!

Wednesday, October 19, 2011

30 Day Photo Challenge Week 2

I'm back again with this week's edition of the 30 day photo challenge. This week was a little more difficult for me to complete but I like how all my pictures turned out in the end. Here is last week's if you missed out.

Cheers!

Day 8: A Bad Habit

Day 9: Someone You Love

Day 10: A Childhood Memory

Day 11: Something Blue

Day 12: Sunset

Day 13: Yourself with 13 Things

Day 14: Eyes

Tuesday, October 18, 2011

To Have and To Hold

Do you have those things that you bought knowing you would find a use for it and just couldn't let it go when you didn't? This tray has been that for me for 4 years now.


When I saw it in the thrift store years ago I thought it was fun and retro. However, fun and retro do not fit in my house. I almost gave it back to the Goodwill when we moved but something stopped me. I think it was this tray from etsy.

Zig Zag Tray

Isn't it gorgeous? Now my tray isn't that cool and I wasn't sure about the metallic but I have been loving mustard (the color not the condiment) and after my dresser revamp I had some left over so I thought, why not? It always starts with that doesn't it?

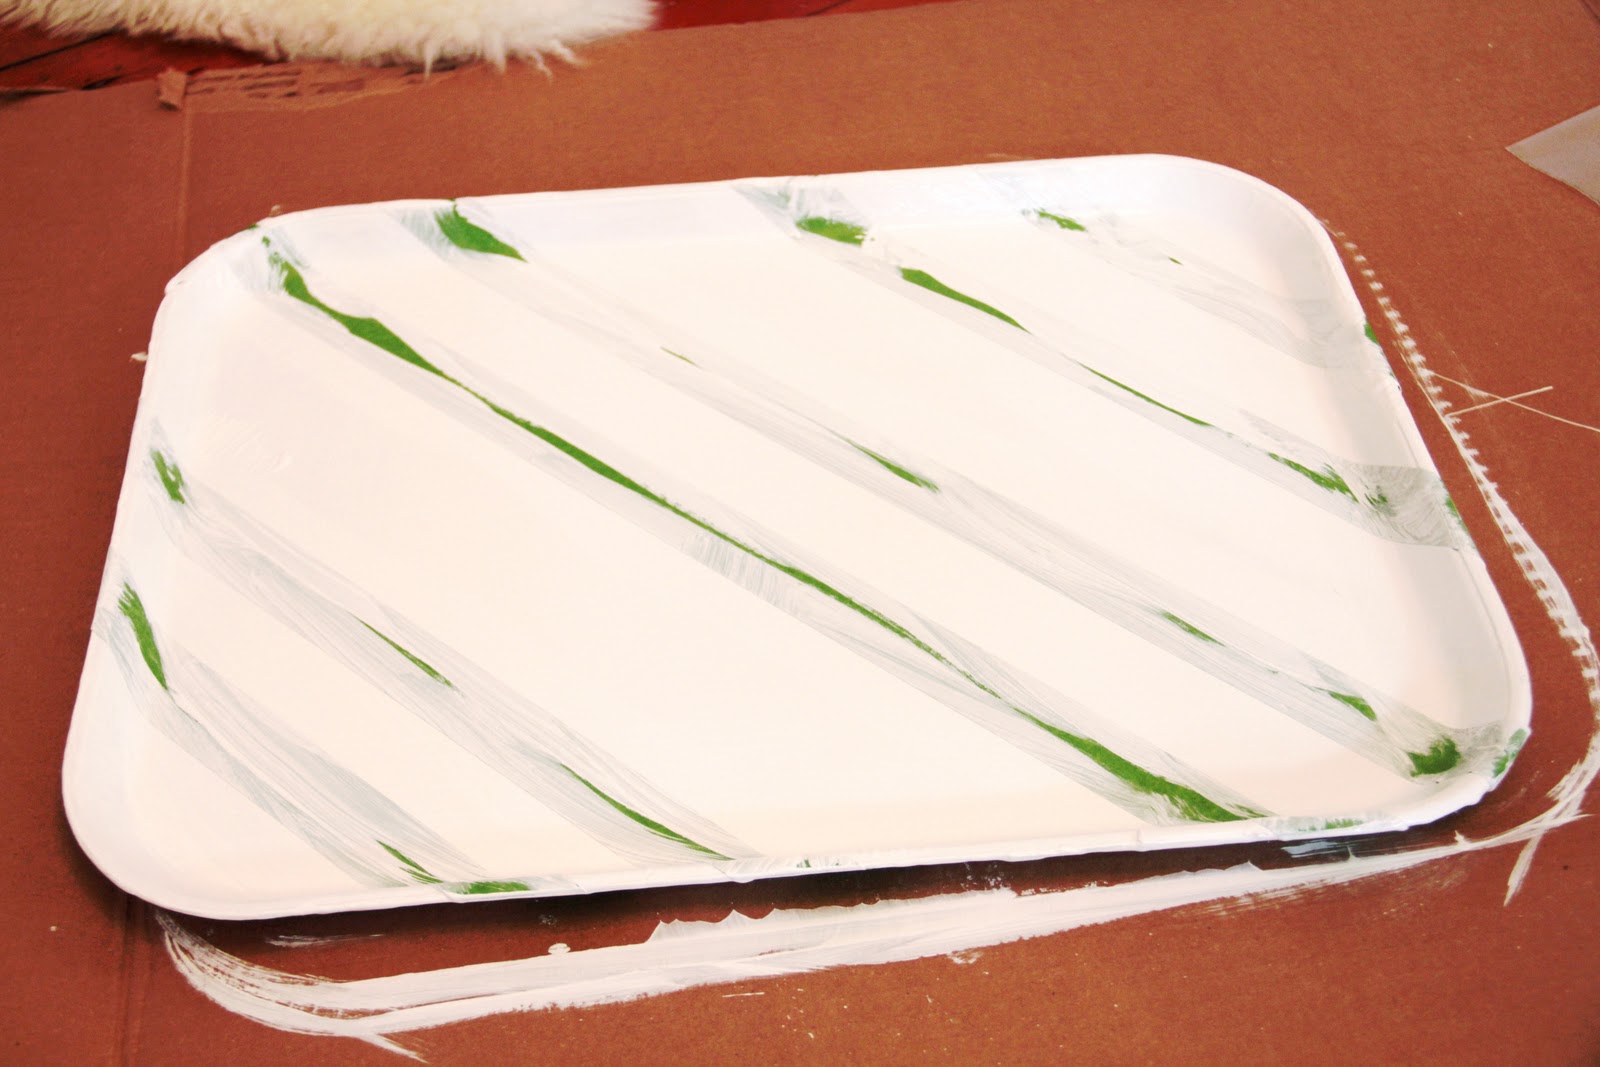
After painting a ridiculous number of coats of white paint on my tray I consulted with Daniel as to the direction of the stripes. He liked diagonal so that is what I went with. First I taped the whole thing down. I went for uneven stripe widths to make it a little funky but still refined.


I used painters tape but in my experience it is still difficult to get crisp lines. I remembered reading somewhere that a good way to get crisp edges was to seal them with the base color so I gave that a try.


Then a few coats of mustard later I had a new tray for the ottoman in the library (ignore the unpainted base boards, Daniel removed the baseboard heater and I haven't gotten around to it).


This is the closest color I could get but it still reads more orange on my screen. It is a really deep mustard and very high gloss.

The paint trick worked mostly. I still had some problems with the lip of the tray but that was more my fault than the paint. The only issue I ran in to was peeling some of the paint up when I removed the tape but it was an easy fix.

So there you have it, my tray did end up finding a home in my house. All it needed was a little make over. Anyone else hold on to things you just know you are going to need one day? It can't be just me!

Cheers!

Monday, October 17, 2011

Expandable Journal

Confession: I'm kind of a journal hoarder. I love them. I love to write, make lists, doodle and so many of them are just so pretty! But I hardly ever finish them. I have tons of half full journals laying around making great shelf decorations. The biggest problem I have is that I like to keep running lists but it would be nice to get rid of the pages I am done with. Then I saw this journal maker on another blog. So cute!


She has so many great journals that you can fill out and add pages too. I was trolling and then it hit me. I could totally make that! So I did.

Here it the process:

Step 1: Cut down two pieces of cardboard to the size you want your journal. I made them a little bigger than half a sheet of paper so that I could use scrap paper as pages. Then cut out fabric an inch larger than your cover size.


Step 2: Get your glue on. Cover one side with glue and then lay your fabric over it. Be sure to smooth the fabric out as you go so there are no wrinkles.

Step 3: Flip the cover over and glue down the overlap. I mitered my corners like so.


Step 4: Cut a piece of paper to be the inside cover and glue down


Repeat with the back and let dry over night weighted down by books to keep them flat. Text books work great.


Step 5: Drill holes for your binder rings. I actually used this step to create the holes through the whole journal. Paper and all. Just cut your pages to size and use binder clips to hold the whole thing together. 3/16" drill bit did the trick for me.


Step 6: Attach binder rings and enjoy!


I had a whole lot of colored paper left over from teaching so I made mine rainbow colored. It is also a great way to use up recycled scrap paper. As long as one side is blank you can go ahead.


It is great because I can move pages and add new ones as I go through them and it uses up all of the scrap material I have laying around. Great for blog ideas and lists. The cover is really sturdy and if I get bored with that I can make a new one! So great for anyone who likes to coordinate with the seasons.

Cheers!

Linking up to:

Frugal Friday

Weekend Bloggy Reading

Friday, October 14, 2011

A Spooky Mantle Update

Since Halloween is around the corner, I finally got going on some decorating (Yay!).  You saw the front door vignette but it was time to update the mantle with some spooky decor. Luckily Target had all the little things I needed to finish it off.

This is what I had for the fall mantle party


And here it is now:


Let me tell you how hard it was to find little spiders! The only way I could get them was in a bag of 100 at Target so I went crazy with them. And no, I didn't just forget to dust (though I did have a spider leave an egg on my bedroom curtain which then hatched exploding baby spiders all over the place. My husband loved that one).
 My SPOOKY came from the dollar section of Target (well the $2.50 section ) and was originally purple. It was all beat up so I asked for a discount on it and got .25 off! Yay for asking (though I felt remarkably silly since I knew I was going to paint it black anyway). I just added a coat of Martha Stewart Onyx glitter to the last coat of black craft paint to make it sparkle again.

I tucked spiders everywhere!


This huge beetle actually came from the garden. I was weeding the side yard a few weeks ago and he just about scared my socks off. I thought it was the perfect addition with my little book page pumpkins.


Of course my leather bound books got some spookying up too. My first edition Elizabeth Barrett Browning is my pride and joy and Les Miserables makes me think of my best friend Jessie.

Very spooky indeed! Daniel's only comment was that he hoped we could still use the fireplace with all the webbing on it but I think deep down he loves it. I can't wait to get to the pumpkin patch and add some carved pumpkins to the mix! I love the holidays don't you?


Home Stories A2Z