Wednesday, March 27, 2013

Spring Time!

And it's about time! It seems like winter is finally shedding its coat here and spring just might be right around the corner. My daffodils are up and blooming so I figured it was about time to do something about my chalkboard art.


Not quite so merry in March...

I did a quick Pinterest search of "spring chalk boards" and found this lovely one from Ella Claire

She has a great link to an explanation on how to do a chalkboard the right way but I just free handed it. I don't mind that it isn't perfect.


I topped it off with some moss from the back yard to give it even more spring time appeal.

A quick little update while I recuperate from my back injury. No demoing for me any time soon. Luckily it is all done for the bathroom and we are on to the electrical and plumbing phases of the project. Fingers crossed we will be done with at least one of those this weekend!

Cheers!

Friday, March 22, 2013

Just Hanging Around

The downstairs project has displaced a great many things. That and my collection of free or almost free projects I just haven't gotten around to is starting to pile up hoarders style. I've basically decided to Craigslist it all so hopefully it will be clutter free soon.


I don't always clean my house  but when I do, it's after watching hoarders
via


One thing I didn't want to part with though was my wall of frames. So, I relocated it.

What once was an empty hall

now is filled with memories!


I wanted to play with the arrangement a little and when I found this pin a while back I thought I'd give it a try.

I like the way the center line anchors the different sized frames. It was hard to get strait and even (think lots and lots of holes) but in the end it worked out. Now the hall has a little pizzaz don't you think? Especially compared to its pre-picture plainness.

I didn't quite use all of the pictures but I'm sure I'll find homes for the rest!

Cheers!

Linked to:
 Weekend Bloggy Reading
The Shabby Nest

Wednesday, March 20, 2013

Craigslist Score

Somehow Craigslist always slips my mind when I start shopping for non furniture items. But, we've been doing a lot of purging lately and making a little money Craigslisting some items that have been collecting dust in the extra room downstairs so I thought hey, why not see what I can find.

How about this fine looking thing.


Remarkably similar to this $120 one, mine was only $30! Even better is that someone took our old medicine cabinet for $75 which means I'm ahead on this deal! It is always nice when things end up being cheaper than you expect (especially since the framing is turning out to be a bigger part of the project than we originally expected).

Do you use Craigslist often? I love good deals but sometimes I am nervous to handle things on my own.

Cheers!

Tuesday, March 19, 2013

Hulk Smash!


Good-bye shower pan!

We've officially finished demoing the bath, which of course deserves a commemorative picture right?

Martin is here today putting up new walls but I did get a final picture of the space in all it's glory. This will be the shower area.


Here is the view looking out towards the new wall and doorway.

Next phase, electrical. I am trying to keep momentum up on this project but electrical is all Daniel. I just get to tell him where things go.  Hopefully we can get it done this weekend and then I get to spend next week putting up drywall. Joy.

Cheers!

Friday, March 15, 2013

Praise Be to Anoia!

Alternately titled: Kitchen Drawer Organization.

For those of you not familiar with Terry Pratchett's Discworld series, Anoia is the goddess of things stuck in drawers (you can read about her here). As they describe her: "Anoia is praised by rattling a drawer and crying 'How can it close on the damned thing but not open with it? Who bought this? Do we ever use it?'" Needless to say I find it amusing.

I think we all have at least one of these drawers. The drawer in which everything ends up but you can't ever seem to find what you are looking for (meanwhile something is burning or boiling over). The problem begins (for me) with the lack of drawers in our kitchen. Something I didn't really think about when we remodeled but am now realizing was a mistake on my part. Drawers are the way to go. But I digress. Here's the issue; this is about the level of clutter I can take in a drawer before I begin praising Anoia.

 Not much in there right? That's about half of my cooking tools that I use on a regular basis.  But look, all of this unused vertical space. 

Of course if the cabinet maker was going to be nice he would have made it deep enough to store things standing up or made two shallow drawers. I should write an angry letter. Or become a cabinet maker.

The plan? Make a second level. I went out to our scrap pile and grabbed some 1x4s I had left over, cut them down to size and slapped some wood glue on them. Like my wooden spoon as brace?


 The ledge blends right in.

I returned everything to its place and then grabbed a bamboo organizer I had lying around.


A whole new level of storage that easily slides back and forth. 
Now I just need to come up with a goddess for perfectly organized drawers.

Even though it has been almost eight months since the kitchen remodel was basically over I am still trying to solve the organizational issues we have. Lot's of DIY projects planned so stay tuned! (you can check out my Pinterest kitchen board to see some of my inspiration).  How do you get around kitchen quirks? I thought my new blog friend The Baroness had a pretty neat solution using thrift store finds.

 Cheers!

Linking Up to
 Weekend Bloggy Reading 
The Shabby Nest

Wednesday, March 13, 2013

Bathroom Inspiration Board


So here's what I'm thinking:
1. I love white bathrooms. They seem so clean and crisp and bright (though I'm leaning towards the grout color in picture 2). The floor will be the black and white basket weave (from HD) and the walls white subway (also HD though I'm still on the fence about full 3x6 or slightly smaller).
2. Emerald is Pantone's color of the year and for a reason. I love how bright, yet natural it is. I fully intend to refinish an antique dresser for the space to make it seem more lived in and less "new" and putting in a vessel sink (like this one in #5) and faucet (#6) would keep it feeling like furniture. 
3. I would quite possibly kill for these salvaged shower doors (and that is only slight hyperbole). We'll see what I can come up with.
4. I've wanted a rain shower head since my parent's built their house. It is just so soothing.

I've been working out a budget and all of my choices seem manageable so we are all systems go! I've got a pretty blank slate now right?

So what do you think? The only thing I'm on the fence about is having a painted vanity. But  I guess that will depend on what I find furniture wise. I'm willing to be patient though, I can always re-use the current sink until I find just what I want.

Cheers!


Tuesday, March 12, 2013

Going, Going, Gone!

After construction finished Tuesday, I wasted no time starting the demolition process. Demo is my favorite part. For the most part you can't do it wrong and when you are done it is obvious that progress has been made. It took four days (two alone and two with Daniel's help) along with two trips to the dump to finally have the whole thing cleaned out.

Goodbye poorly constructed, dark shower. 


Goodbye strange open shelving too close to the bathroom. Even my two attempts at covering you weren't enough. 

Goodbye tiny sink and awkward nooks. 

Goodbye un-level ceiling. 

Sometimes goodbyes aren't that difficult. The good news is that we are ready to start the next phase of the project and finish framing everything out. The bad news is that our builder is super busy. Boo. I hate to have the project stalled out but I'm not sure I'm ready to take on framing. Until then I'll be planning and saving for all of the updates we want to do. That's a pretty fun part of the process too.

You can see phase one and phase two here.

Cheers!


Thursday, March 7, 2013

Bathroom Update

Just a quick update on bathroom construction. After spending the day tearing walls down Martin finished up the day with a newly framed wall and the all important door opening.


You can see how much space we have gained moving that wall. Today I get to start demoing tile (yay!). My dreams of tearing all of that nasty tile out is finally coming true.

What's your favorite part of a project? I'm usually raring to go for the beginning and I love the last finishing touches, but keeping momentum through the middle can be hard.

Cheers!

Wednesday, March 6, 2013

Living Room Curtains

It all started with this picture:

Pinned Image
Via who knows- the pin just links back to an error message for inappropriate content :(
I wish I knew where it came from. Is that not the most gorgeous living room?
Update: According to Emily A Clark (who happened to post the exact same picture today) the room above is from Style at Home
I had been trying to sell Daniel on putting curtains in the front room for a while (for texture not really for function) and this picture sold him. All I needed were the perfect curtains that didn't require selling any limbs. Of course it is never that easy.

I searched high and low, scoured fabric stores and the good old web until I stumbled on this pair from West Elm. 
Ironwork Flocked Window Panel #WestElm
ironwork flocked
Pinned Image
scribble
Honestly they were a total tie but in the end we went with the Scribble panels. Not only were they basically half the price of the flocked ones they seem a little less formal and I hope they will fit in to the space better (plus I hemmed and hawed for so long they gave me 15% off). Only downside? They are back-ordered until July. Boo. 

I still need to share pictures of what we've been up to in the living room but that will have to wait until construction is done.

So what do you think? Am I crazy to wait four months for curtains? I figure it locks me in and I have time to change my mind if I want to.

Cheers!

Tuesday, March 5, 2013

Guest Bathroom: Phase Two Begins!

Ahh the sound of reciprocating saws... music to my ears. Martin is here ripping down our existing bathroom wall and putting up a new one. Only one or two minor snags but so far I'm excited about the space. I just snuck down to get a quick picture while he was off getting some more supplies.


He made pretty quick work of the wall and we are hoping to wrap up construction today. There are a few wiring issues we'll have to address but we are on our way to a new bathroom!

Cheers!

Sunday, March 3, 2013

Ikea Billy Closet Hack

My closet has been a work in progress for almost two years. When we first moved in we started out with this very silly classic old house closet problem:


The two feet of space wasn't cutting it (and the closet kept going behind the wall so I was forever losing clothes) so when we moved the wall to expand the kitchen we also opened up the closet.


Eventually everything got trimmed out and painted,

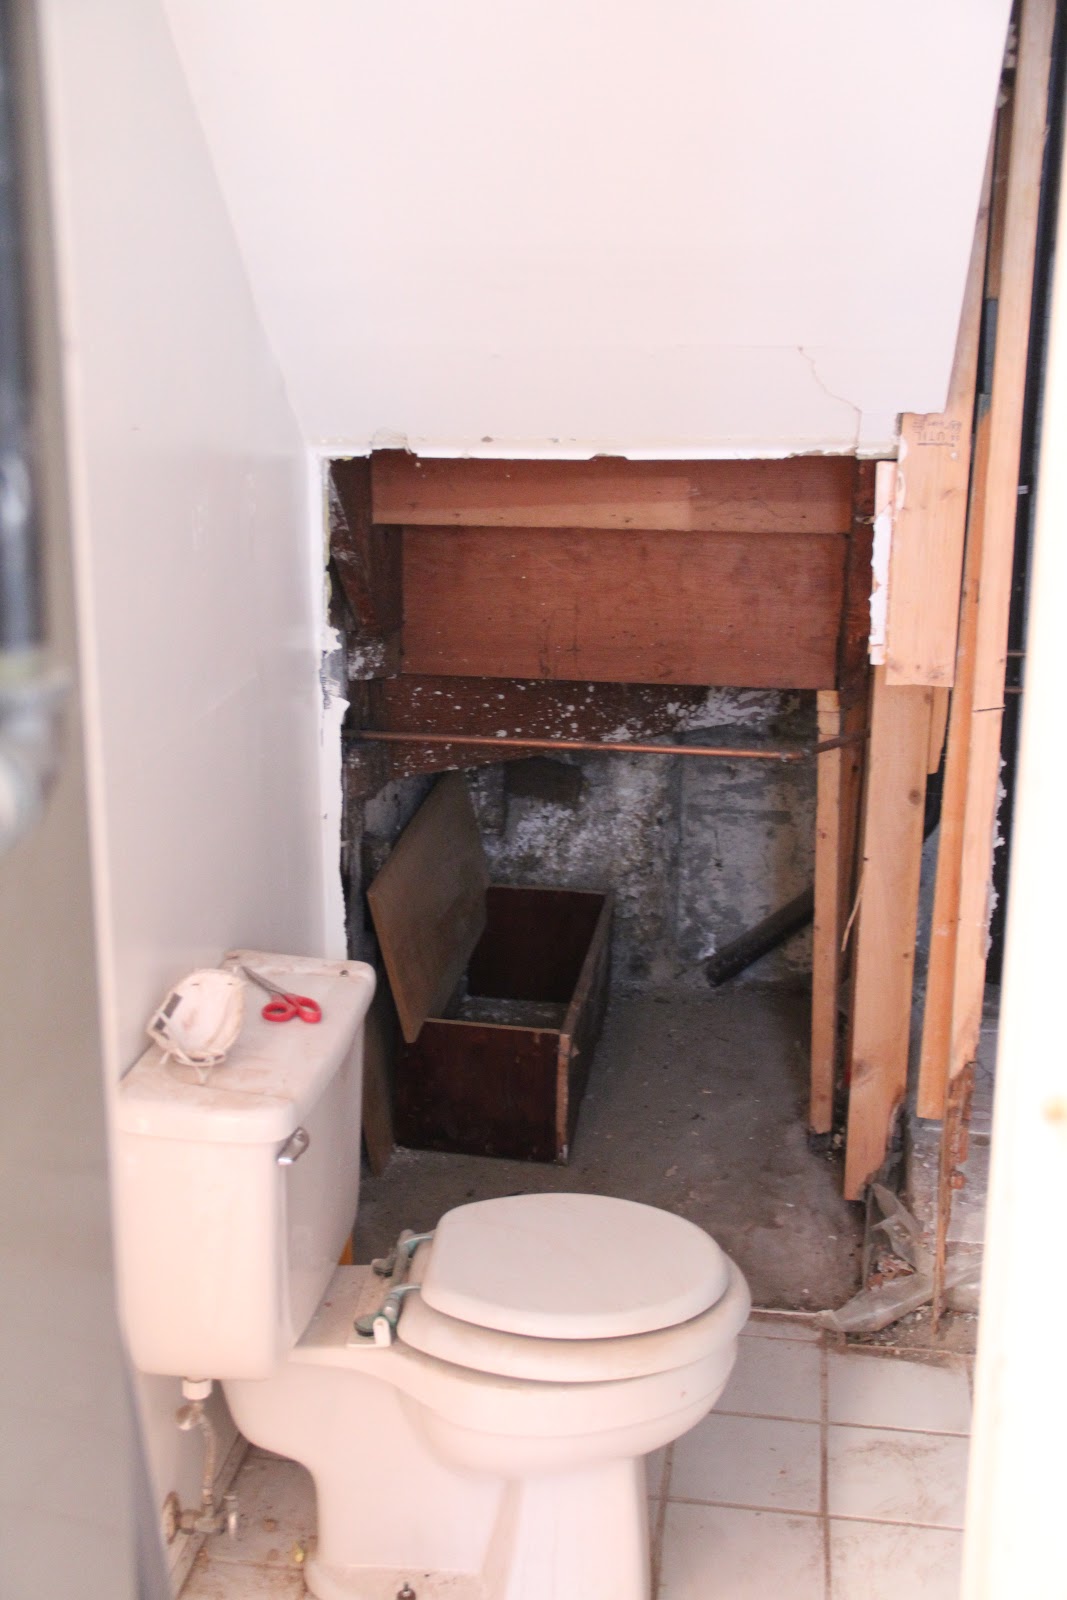
but for the longest time the inside looked like this:


Don't get me wrong, I loved my cork jewelry holder and shelf space, but it really wasn't the best use of the area. I knew I wanted to have less shelving and more hanging space so I went to Ikea and did a little research. I already owned the fully sized Billy bookshelf, and I knew they made a smaller version, but I wasn't about to shell out another $50 for a slightly smaller version of something I already had. Herein lies the hack.


What I love about hacks is that you get to customize. No more money spent and now I have more hanging space and plenty of shelving. It was about as easy as you can get. I took the things apart, hacked the three stabilizing bits (bottom, middle and top) down to 18 1/2 inches (exactly 2 baskets wide) and then put it back together. On the side I cut we just used some nails and glue to re-attach things.

We added one more feature to the closet too:

Interior lights! I gussied the whole thing up with a new paint job (something off of the oops shelf of Home Depot) and some trim to hide the seam between the shelving and the long top shelf.

I also took a little Pinspiration from this California Closet image and hung one dowel width-wise across the back corner.

I don't own many long dresses so it is the perfect solution. Now Daniel's clothes have their own space below and nothing gets in the way. I still need to pick up a few shelves from Ikea to finish add more shelving to the bookcase and the doors need paint but two years in we are getting close. Sometimes you just have to live with something to really know what you need.

How do you keep your closets organized? Clothes are easy, I just sort by color but I'm still looking for a better solution for purses and shoes.

Cheers!