Showing posts with label DIY. Show all posts

Wednesday, September 10, 2014

Baby Gates and Baby Steps

Man, blogging is hard. I have to find my camera and then download pictures (and take pictures). Getting back in to the groove is proving more difficult than I though. Add in a 5 month old who has decided he no longer has to sleep through the night (seriously kid!) and you get one tired and distracted momma.

But, we did finish a project!


May I present our new baby gate. 


Isn't it pretty? I knew I saved the door we took down for a reason! I didn't bother to do much to it- just stripped, sanded and stained, letting all of the 112 years of imperfections show. I rather like the result. It is making me want to strip every wood surface in the house. 

In bad blogger form I have no progress pictures or befores but let me tell you, this door was disgusting. Covered in at least 5 layers of paint and stain, including the beautiful hardware. 


We used a new (for us) technique for stripping that is safe and easy (two important factors with a kid in the house). A heat gun! I have another door to strip so I will be sure to include all of the details when we get there, but it is the easiest way to strip paint. Like butter under a hot knife. 

Much better than those metal things and hopefully less likely to cause major accidents. Oliver isn't crawling yet but knowing how long it took to get around to this project I'm glad we are just done.

How did you approach baby-proofing? We are going for the one little step at a time. 

Cheers!


Monday, January 20, 2014

DIY Baby Gym

Obviously I have been having fun making baby things, and this project is no different.


Supplies needed:

  • 1x2x8 foot pine board
  • 3/4 inch dowel (at least 30 inches)
  • Round wood ball (mine are 1 1/4 inches from Joanns)
  • Eye Hooks
  • S-Hooks
  • Chain
I started by cutting my 1x2 down in to 4 equal pieces about 2 feet long. Using my miter saw I cut one end at a 30 degree angle. This provides a stable foot for the gym.


I don't think this is necessary but it looks better in my opinion. 

Next, I marked 1 1/4 inches down from the top of the now 2 foot board and taped two pieces together (just to make sure they are at equal spots on each pair of legs)


Using a 3/4 drill bit I drilled a hole through both boards.


I also drilled a 3/4 inch pocket in my wood balls. 


This was really hard. At first I tried holding with one hand and drilling with the other but all that did was cause bodily harm (so don't do it this way!). After taking a chunk out of my hand I clamped the ball and then drilled. You don't need to drill very deep, this is just to keep the legs from sliding off. 

Thread the dowel through the holes and glue your wooden balls to the ends.


Once everything is dry, measure down an equal distance on each leg (on the inside) and add your eye hooks. 


Attach the chain and S-hook. You don't have to use an s-hook, you could just attach the chain to both sides but the hook makes the whole thing collapse flat. Like so:


There you have it. A simple wooden baby gym: no bells or whistles.


Even better the whole thing cost around $20! I whipped it up over two afternoons (I let the glue dry overnight) and completely by myself. Even 7 months pregnant, it was a pretty easy project.  I hope I was clear enough to help you make your own.  

Cheers! 

Sunday, January 12, 2014

DIY Changing Mat Clutch

I don't know if it is nesting, but I've been going a bit crazy with sewing projects. I'm hoping this one comes in handy (haha).


I found a great little fabric shop in Ballard that has some of the best fabrics. Made by Marzipan's tutorial was super easy to follow, even for the novice seamstress that I am.


The one change I made to her plans was that I used a laminated cotton for the mat pad to make it wipeable (she uses a clear vinyl over the fabric instead).

Cute for something that will see a lot of not so cute stuff right? So tell me, was this a waste of time? Did any of you veteran mommies use these? I feel like I am riffling around in the dark with the whole baby item thing. There are so many lists with all of the "must haves" that seem silly to me that I wonder what I really need to be focusing on.

In other news, we started painting the nursery this weekend and I'm loving how it is coming together. I have a feeling it will be my new favorite room in the house!

Cheers!

Thursday, November 21, 2013

Floored: Part 1

Yesterday we hit the half way point with our floor installation and it is looking darn good! After about 12 hours (including moving the furniture out and pulling out the old molding) we are done with the guest bed and half the hall.


Install is super easy due to the click and lock style of flooring we ended up with. Just like the cork in our kitchen you just snap everything together and it floats over your existing flooring.

We went with a felt underlayment for added warmth and sound cushioning. So far the most difficult thing has been cutting boards to go around (and under) the door jambs. I swear it takes twice as long as the rest of it.

I'll keep you updated on wear and tear but so far I love the stuff! Now it is just making me want to finish all of the other projects that need to happen down here… One thing at a time!

Anyone else install their own floors? I am super happy we decided to save the $1,000 or so and do it our selves.

Cheers!


Tuesday, August 6, 2013

DIY Sparkly Shoes: Take 2

Two years ago (almost to the day) I made these sparkly shoes. What I didn't tell you is that they ended up being a complete and utter fail.


After one wear the paint and glitter started peeling off. No good. But my love for sparkly things persists so when this tutorial came around I gave it another go.

I started off with a pair of Tom like shoes from Lands End. I loved the idea of them, but the light color just wasn't practical.


I grabbed some gold fabric paint, gold glitter, and fabric Mod Podge and went at it. In the end I sprinkled even more glitter over the glittery paint just for the fun of it and then sealed it all in with MP. I let the whole thing cure in the sun and gave them a walk about.


Good as gold.

What was different this time? I think the fabric paint adhered to the fabric shoes better than the acrylic to the faux leather. Only time will tell but I've worn them on two long-ish city walks and no peeling or chipping. I'm calling it a success!

Glittered anything lately? Nothing is safe I tell you.

Cheers!


Monday, July 22, 2013

Building Built-Ins

The fireplace built-in project is finally catching speed. We've gone from this two months ago


To this


Sanding and paint is finished. I still need to calk the shelves and re-install the seats.


Look at all that storage! Out biggest hurdle at this point though is finding trim to match the fireplace mantel. So far I can't find it anywhere, so I'm pretty sure I'll have to end up tearing the original moulding out and replacing it all but I have yet to cross that bridge. A few more days of cure time and I can start loading those puppies up with books. Oh joy!

Who loves built in storage?? This girl!

Cheers!

Thursday, July 18, 2013

DIY Sliding Door

All week long I've been working off of this.


I add things as I see them, and check off the rest as I go. One of the projects I finally got around to completing was the sliding door in my bedroom.


I used this tutorial from Vintage Revivals, but I've seen them all over Pinterest. I followed the directions to the letter and it was about as easy as described. Unfortunately it is a two person project so enlist friends!

I hung the quilt I made behind it and moved the heart art to a different wall. Most of the time the door is open which obscures things a bit but I like the peak-a-boo aspect (and it was the only wall big enough. Ha!).

I did have to take down the original header (which was a bummer) but if your doors have simple trim you should be fine.

As to how I feel about it? Price wise it was perfect- under a 100$. Functionality wise? Well, it is heavy and hard to move and the sound of metal rubbing on metal is really loud. I waxed the pole which helped but even if you get the eye hooks perfectly centered the door wobbles enough to touch them. Also, I don't think the casters it sits on would work over carpet. At some point I will probably try a different tutorial for a sliding door (I want to do a matching one in the library) but since we are the only people who live here, the door is hardly ever closed anyway.

Anyone else attempted the sliding door with pipe? I like the look of it but the sound is just awful. If you've made it work I'd love to hear!

Cheers!
Emily

Linking up to:
  Weekend Bloggy Reading

Furniture Feature Friday

Tuesday, July 2, 2013

Where Do You Put Your Drink?

The less space you have the more crafty you need to be. Our Library is ridiculously small so when I stumbled on this pin I knew I had to try it.


I had some scrap 1X5 boards lying around from door frames so I used what I had. The whole project is super simple. Cut three boards the same length. Nail them together and there you have it. I spray painted mine a navy blue to tie in the pillows.

You could easily do something bright and fun or just stain it if you prefer the more rustic look.

Simple and easy and mostly free. My kind of project.  We've used the cuff a few weeks now and it is very sturdy. Norman can even jump up on the couch and nothing happens (which happens often). Now it makes me want to re-upholster the couch (funny how that happens right?)

Cheers!

Wednesday, May 22, 2013

Tiling- The How and Why

Now I preface this by saying we are not master tilers nor is this necessarily the best way to go about things but this is the method that worked for us.

Because Daniel is a computer guy, we started with math.


Our shower wraps around three walls so we wanted our pattern to move smoothly from one side to another with the least amount of cuts (cutting tile is a pain). Math let us see exactly how many tiles we needed and how many part tiles we needed for our first row.

Then we pulled out our new best friend. The laser level.

This ensured that everything stayed straight and lined up. No drifting!

Then we started tiling.


Realistically you could have started here but it helped to have some plan of attack. I didn't get a picture but we actually started at the height of the shower ledge (about half way) and tiled down. That made us sure that the most visible section (the ledge) would be a full tile instead of a partial tile. You can see in the above picture the laser level showing the horizontal and vertical lines (in red). That saved us from so many "are you sure that's level?" and "that doesn't look straight to me" arguments. The level doesn't lie my friends.

Once we got the lower half of the wall figured out the rest of the pattern followed. It probably took 1-2 hours just to get that first row down between the math and the staring. On our first day we only finished the back half of the wall. Day two took us to the left half and that was basically the weekend. Last weekend went a bit smoother. By the end we had made it to 99%


Why didn't we finish? We ran out of edge tiles. I grabbed another case this week and we should be ready for grout by the weekend.

So there you have it. Our third tile laying experience. It was definitely a lot easier this time around but it still took a lot of patience and planning (things I have trouble with) and a lot of mortar. Like way more than I thought we would need.

Hopefully that helps those of you on the fence about a big tiling job with your decision. It isn't rocket science, but it can seem that way. Seeing how the quotes we got for someone else to do the job were around $1,700, my $500 tile job is perfect in my eyes.

Cheers!

Tuesday, May 21, 2013

Penned In

A few days back I shared my horrible shame list of unfinished projects. Well folks, I'm here today to tell you I've crossed one off of the list. And added four more. Let's focus on the successes though right?

I got my inspiration from this baby gate that Kim @ The Newly Woodwards made and tweaked it to what I had on hand.

TaDa!


It serves two purposes. One, it keeps Norman contained when we have the front door open (which is a necessity as it heats up) and two, keeps us from being bombarded by solicitors. Since Daniel works in the front room (it has the best view) he is unable to "pretend" he is not home when people came by. Now they don't even make it to the front porch.


Boy do my stairs need painting! Ignore that bit and check out the cutest guard dog in the world.


He means business! Unless you have tasty bits, then come on in.

There you have it, one task checked off of my ever growing list. Any bets on whether or not I finish another task before I find something new to add?

Cheers!

Monday, May 20, 2013

Stick A Fork In Me

I'm done! More to come on the how and why but for now I am happy to be basically finished tiling our downstairs bath (here are the original plans if you need a refresh).


I ordered the floor tiles today and plan to start grouting this week. We are inching closer to a shower people!

Anyone else knee deep in a project? I can see the light at the end of this tunnel and I am so excited for the finished product.

Cheers!

Wednesday, May 15, 2013

Baskets and Baskets

Ladies and gentleman, we have tile!

We were just too excited to wait so Daniel took the afternoon off and we got the whole floor tiled in about 4 hours. There was also about an hour of prep, which was definitely the most important part. First we laid the tile all around the perimeter.


This helped up make sure our pattern fit the space (I wanted to cut as few tiles as possible) and allowed us to adjust for the fact that our room is not quite square.

After that it was mortar, tile, clean up and done. I put the tile down and Daniel came behind adjusting the pattern and cleaning up. All in all it was surprisingly easy and quick (at least compared to the kitchen tile). The mesh made it easy to get things even and the fact that it basically meant you were putting down a square foot of tile at a time.

Grout? That's a different story. We are hoping to get the shower tiled this weekend and then grout the whole thing at once.

Who else is in the middle of a tiling project? I'm looking forward to it all being done.

Cheers!

Tuesday, May 14, 2013

TBC- To Be Completed

I have a problem. I like to start projects and then not finish them. It has gotten so bad that I currently have 14+ projects that are half done. So, in an effort to make myself accountable here they are. I'm laying it all out there. Don't judge people.


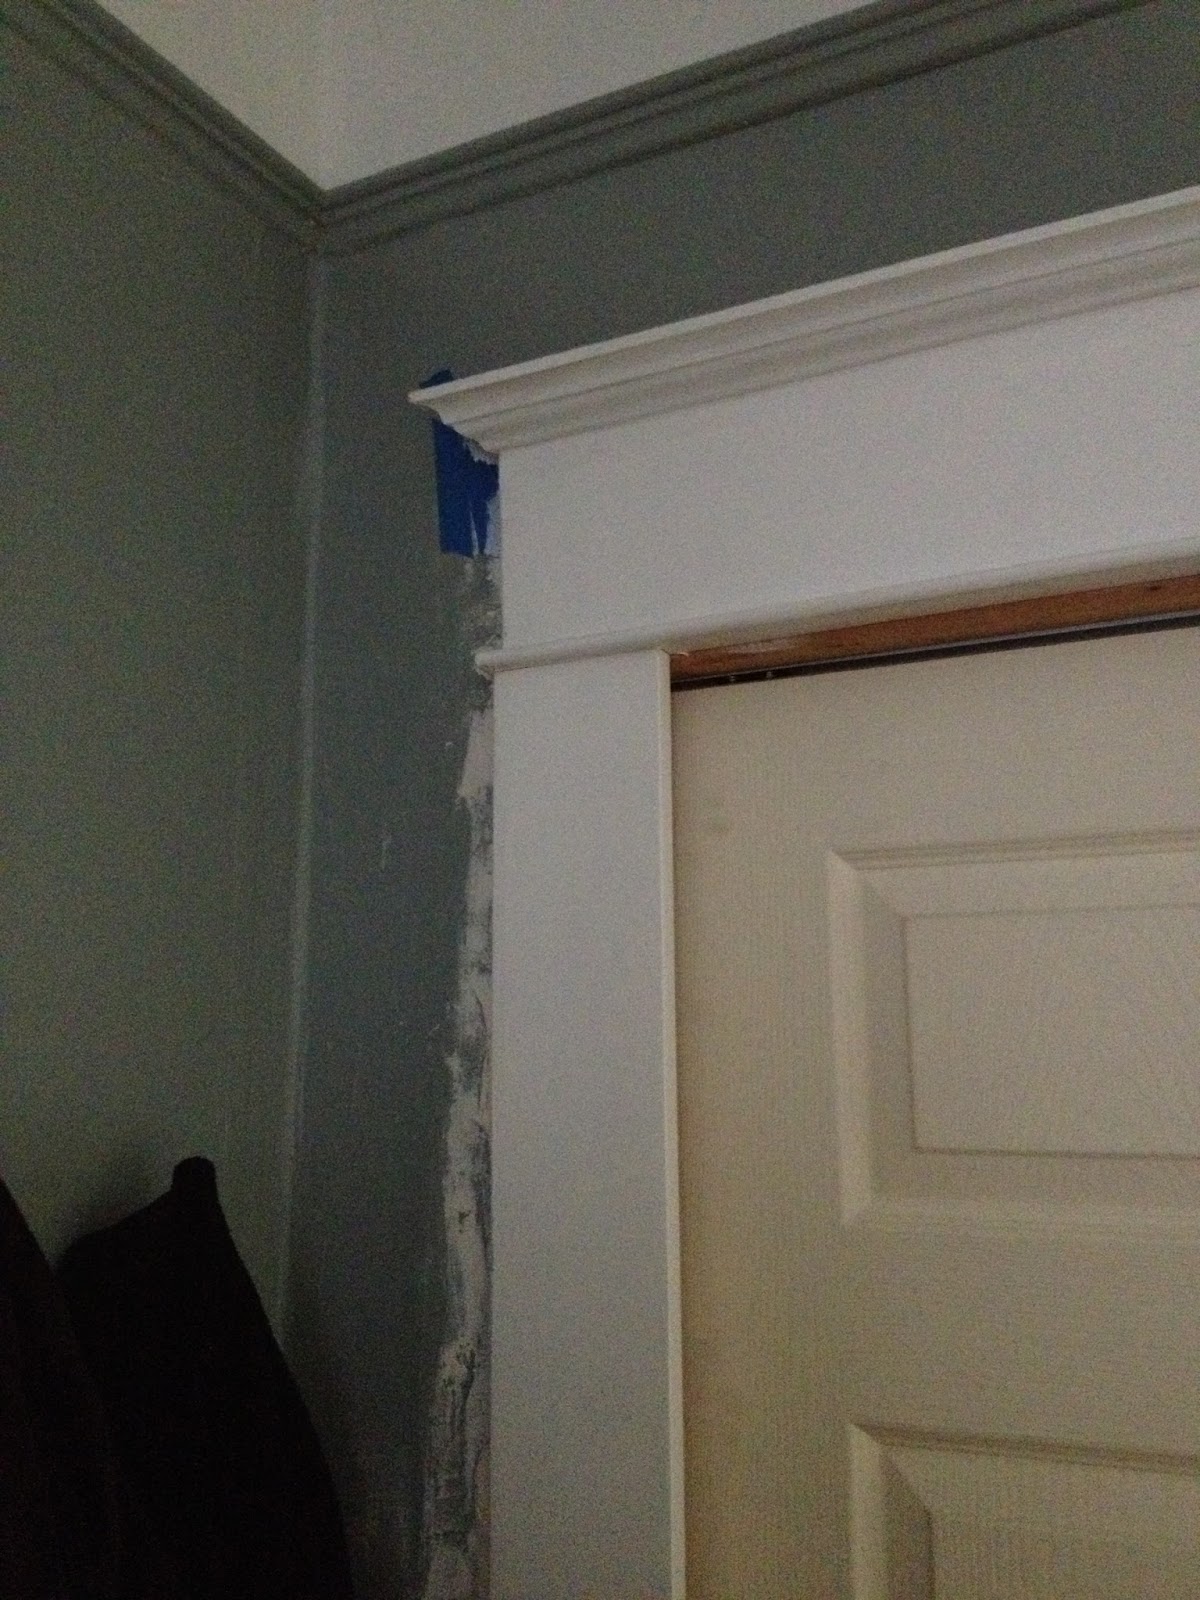
Or the trim in the kitchen Complete! 7/19/2013

This sliding door project for the bedroom? Nope, not done. Complete! 7/18/13

Apparently I don't like painting around trim. COMPLETED! 3/27/13 

Ceilings aren't much fun to paint either. 

That hole in the ceiling has been there 2 years.  Complete! 7/10/13

We moved the chandelier. Never patched that hole either.  Complete! 7/10/13

That's supposed to be a light switch (in my defense, this is a Daniel Project) COMPLETE! 6/2/13

I started the built-ins. Got hung up on sanding. 

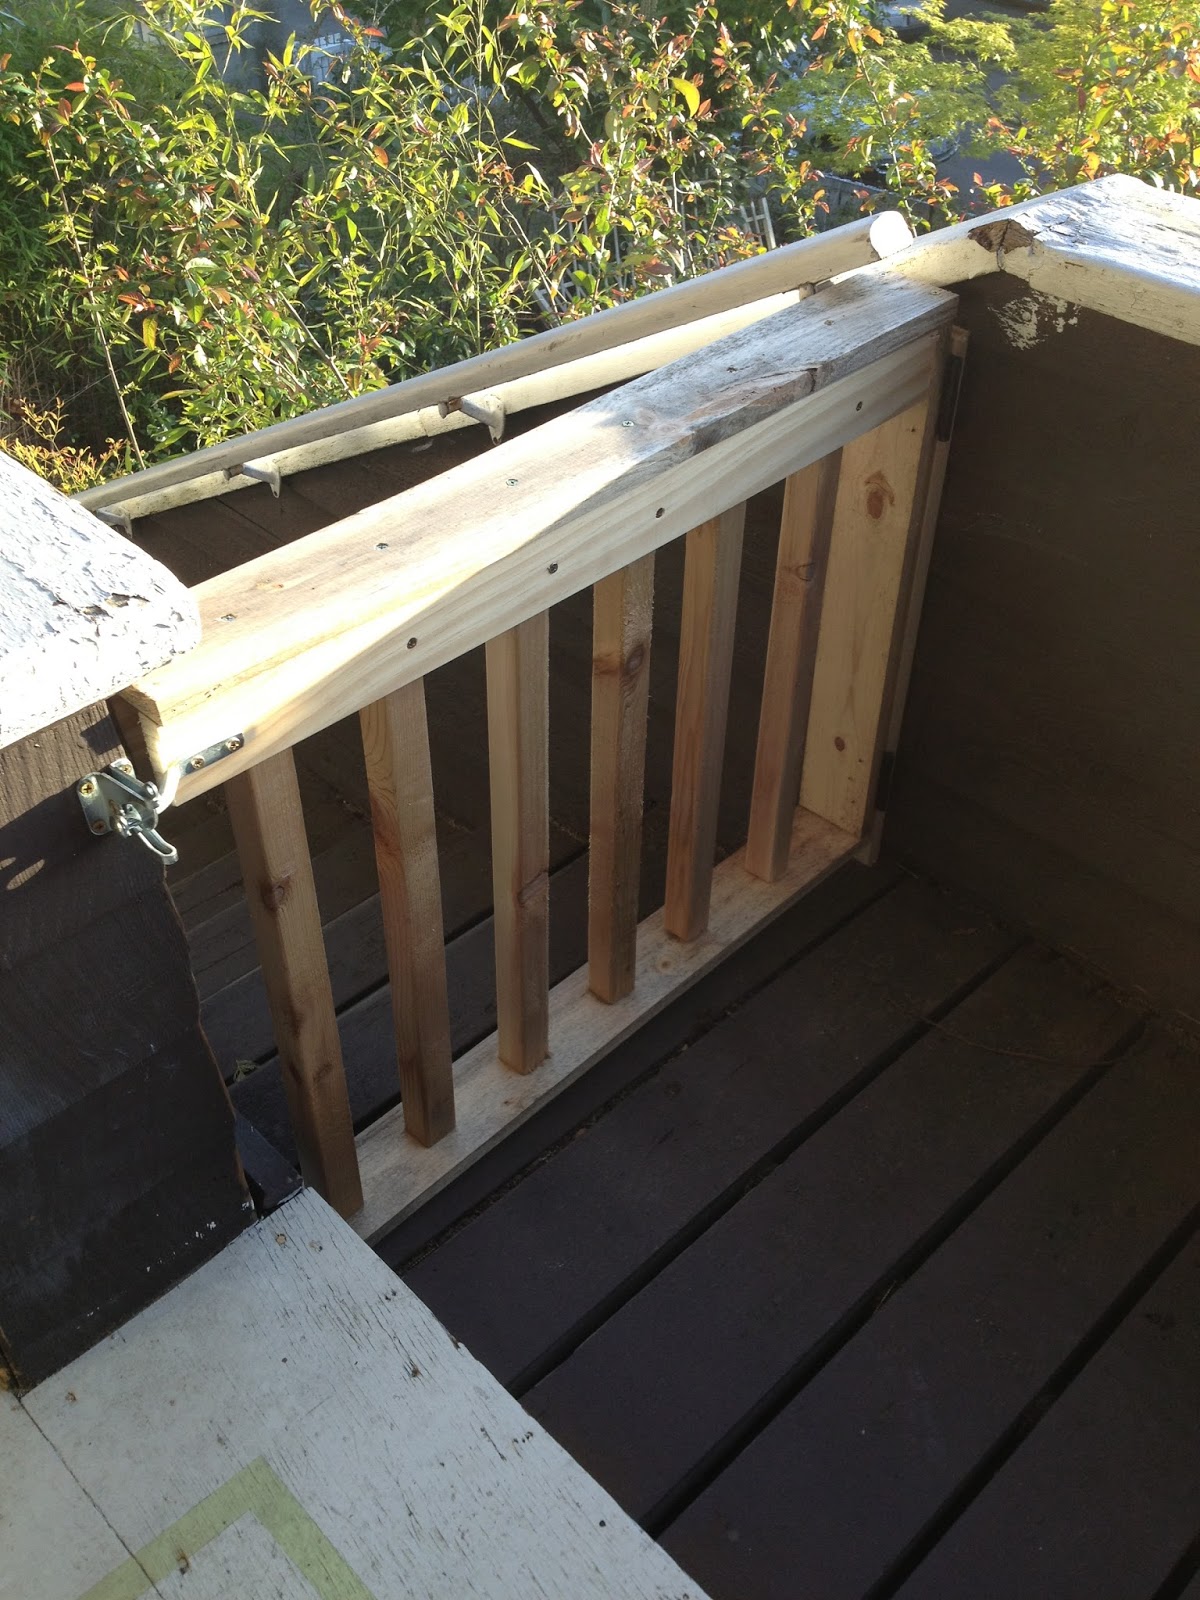
My new porch gate still needs paint. COMPLETED! 3/21/13 

We never finished fixing the crack in the kitchen ceiling. 

The hood still isn't vented (**cough, cough 8 months later cough**)

I never installed the trim around the cabinets in the kitchen. 
I never actually finished painting the kitchen cabinets. 


Our bedroom door doesn't actually close. We should get on that. Complete! 7/19/13

I have a new light for this room that is gathering dust. 

I need to add more rocks to my newly expanded patio. Complete! 7/17/13 

I never got around to installing that rain barrel I bought last year. COMPLETE! 5/29/13 


Daniel and I have made a pact to not start anything new until everything else is finished. Things are going to get pretty boring around here for a while. On the plus side This is all slated for after the bathroom is finished (since that is number one priority) so you still have a few pretties to see coming up! 

Someone tell me I'm not the only one with a house full of unfinished projects. I swear, there has to be a support group out there for this. One that comes with people willing to paint.

Cheers!