Thursday, August 18, 2011

Proof Of Life

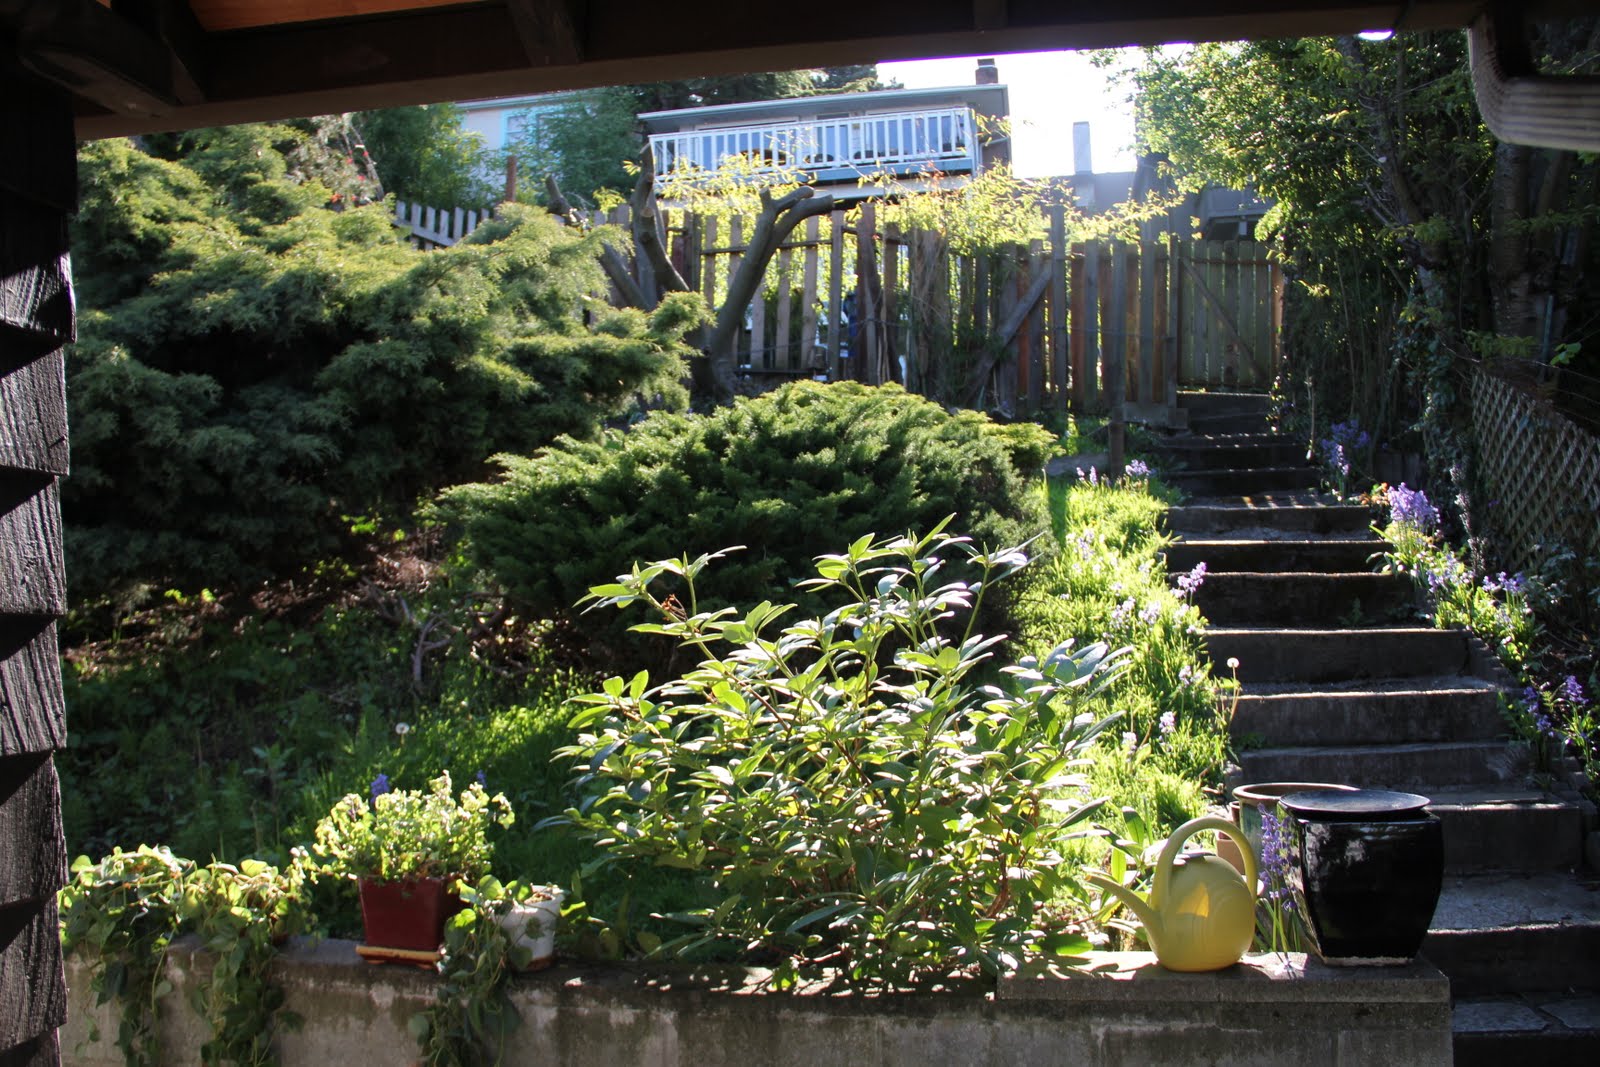
Check out what is coming up in our back yard!!!

I'm so excited about it. I keep running back there and making sure it is still there. It's the little things people. After taking the yard from this


to this


(read all about that here) I've been missing the lushness and green. Waiting for grass to grow is kind of like waiting for paint to dry but it's worth it! One day I will have a wonderful lush back yard and grass to boot! Though someone just told me I am going to have to seed it again, is this true??? Baby steps here people.

Cheers!

Wednesday, August 17, 2011

Hiding Junk: Take Two

You might remember from here that I already made a curtain for hiding the bathroom junk. Let's just say, plans changed for the room.

With the new color scheme I needed a new curtain and this time I went with something more neutral in case I decided to change it all again in a few months. Here is what I ended up with


I did pretty much exactly the same thing as the last curtain but this time I used double sided hem tape instead of the iron. I also wanted to make box pleats so I used about 2 yards of fabric instead of the original one.

The double sided hem tape was great for laying down the ribbon trim


It works like most double sided tape: you lay one side down and then peel up the backing for the other side. It was nice because I could re position the ribbon to get it straight and there weren't any seam lines in my pretty satin ribbon. (I can't attest to how well this would work in a busier bathroom with the steam but I am not too worried about my guest bath, no one's even showered in there yet)

I had planned to put nail head trim along the top but this happened


Nailing into the wall was making it fall apart. So I improvised and used my double sided tape again to position it just a little higher on the wall.


It's been up for a week with no problems. I'll let you know if it all comes crashing down later. Another simple easy way to create something pretty. And If i change the colors in the bathroom again I can just change out the ribbon at the bottom to coordinate.

Cheers!

Tuesday, August 16, 2011

Vivacious Vivariums

I learned something new today. A vivarium (according to Wikipedia) is any enclosed system made to observe plants or animals. Literally it means a place of life. This encompasses all the -iums including but not limited to terrariums, aquariums etc. I love the idea of making a little place of life, something that brings energy into the room in a fun and controlled way. It's easy to fall in love with terrariums. They are easy to maintain and can bring fun into any room or corner.

How cute is this?
Photobucket
via Terry Planty
There are also some great classic ones out there too. Like this one I saw featured over at Centsational Girl


Technically a terrarium should be an enclosed system but I like the open ones better. These are a great weekend project since you just need a few things.

1: A jar. I got mine at the thrift store.
2: Rocks (from the yard)
3: Dirt (again from the yard)
4: Plants and moss (I found mine around the yard)

If you have a yard it is a pretty cheap project too. Or you can scour side streets and alleys for things. 
Here's the process:

Step 1: Layer rocks and dirt. 


Step 2: Plant. Somehow I didn't get pictures of this but I think you get the idea. I like to create a cluster of larger plants in one section, like creating a little landscape with rocks and everything. Then I made sure I had a good layer of moss in all the blank space. You don't have to do this but I like the lush green look. 

Here she is installed on the coffee table


You can see I added my little flamingo I found somewhere and included some sand left over from my vacation jar to create a little beach for it.


Once you have everything in the way you want it give it a 1/2 cup of water to wet it down and then I just spray mine with water whenever I water the rest of the house plants (twice a week). Mine has been going for about a month now so the water schedule works for me (I waited to post about it just to be sure it lived). 

Good Eats Challenge Week 8: Gravy

Ok, I'm not a super huge fan of Gravy but it is a good thing to know how to make (especially since I'm hosting Thanksgiving this year). It is really pretty simple it just takes a bit of finesse.

Here's what you need

We made a half recipe since I didn't want a ton of gravy left over.

The first thing you need is fat. That is where the breakfast sausage comes in. You could use this recipe to make any gravy but this one in particular goes great with those biscuits we made last week.
After you've browned your meat and set it aside whisk your flour into the pan drippings and cook for 3 min.


Take the pan off the heat and whisk in your milk 2 oz at a time. Once it is all added return to medium high heat and whisk occasionally until your sauce thickens.


*** A word of advice: Your gravy will keep thickening while it cools so take it off the heat while it is still on the runny side otherwise you will have gel instead of sauce.

Once the base is done stir in cooked sausage and serve over whatever you'd like. Daniel loves biscuits and gravy so this one was for him.


I promise it tasted better than it looks. In all fairness, I tried really hard to take an appetizing shot but gravy just doesn't look appetizing. Oh well.

Next week: Salt Dome Fish.

Cheers!

Monday, August 15, 2011

Bathroom Reveal

In the wake of a summer cold and a failed vacation I didn't feel much like getting anything done this weekend. Without the impending deadline I didn't have much motivation to get the bathroom finished but by golly I wasn't letting that stop me! (can you tell I'm tired of half finished projects?) Besides, I've got you all to please don't I? I love that about keeping a blog, it gives me all the motivation I need. Especially after seeing all the wonderful things everyone else is getting done. Gotta keep up with the Joneses right?

So, without further ado, your before and afters.

Before:


After


You will remember from here I chose this color pallet for the room.
Thank You BHG

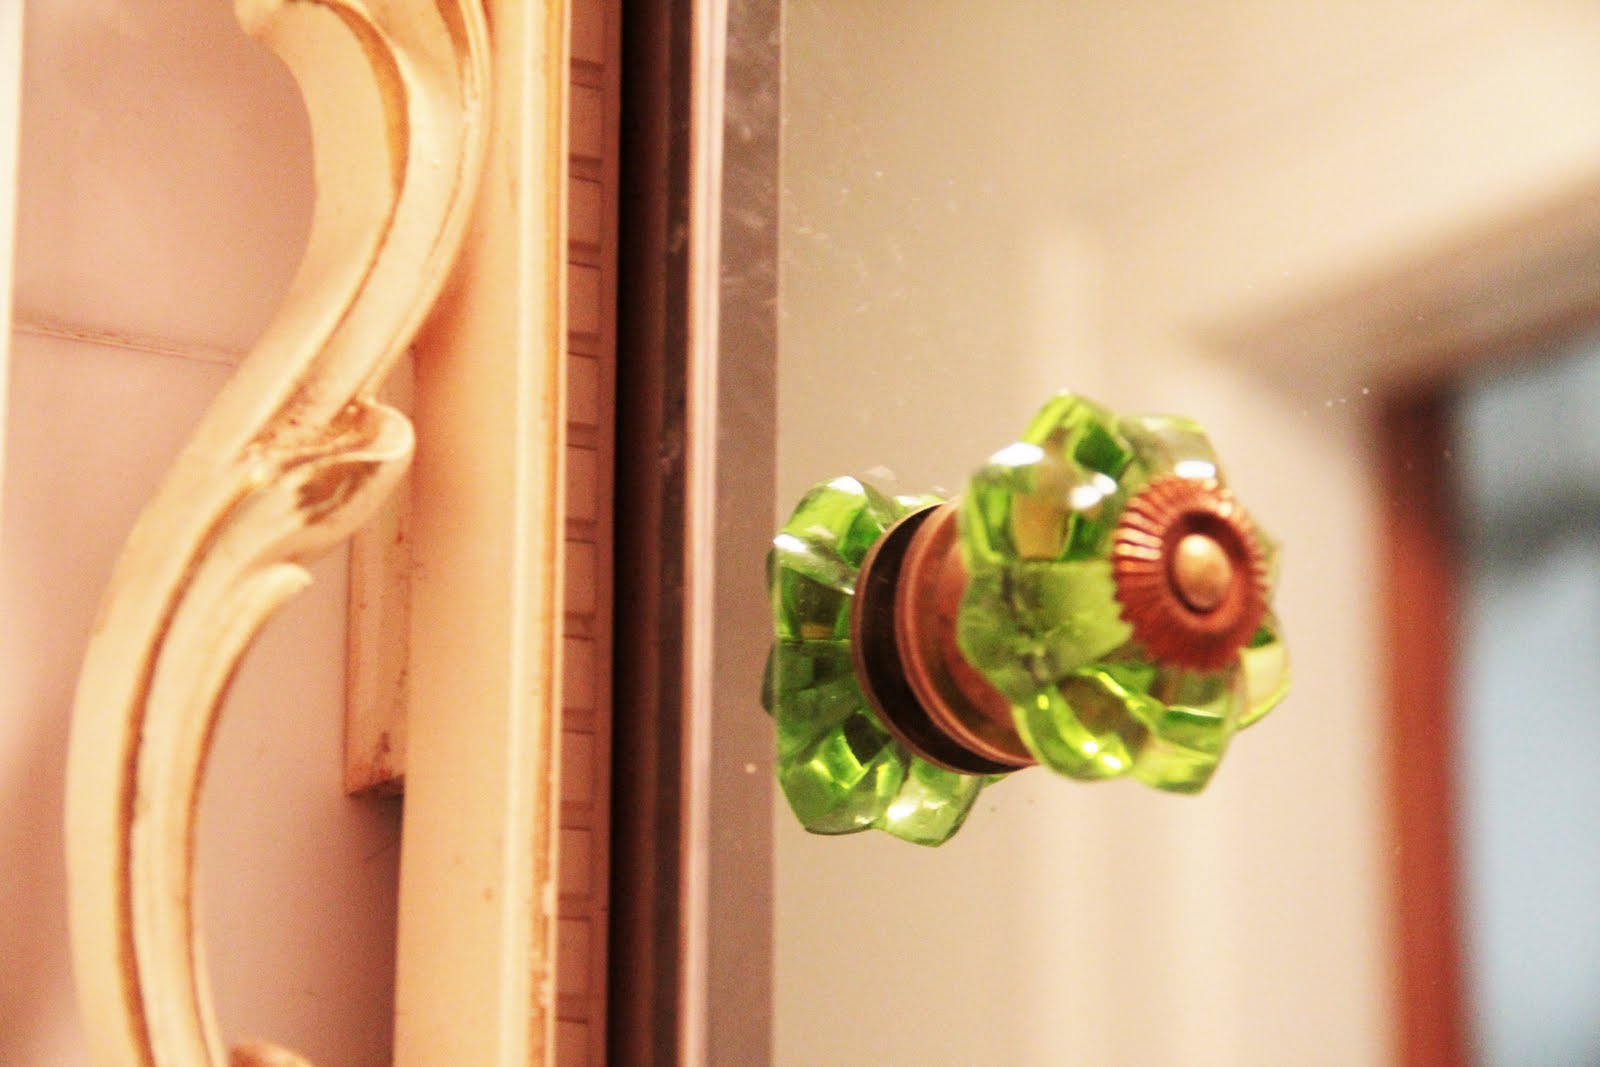
I kept to cream walls (Ace's Casual White) and brought in the bright coral with the shower curtain (from Target in the college dorm section) and a more subtle coral in the conch shell. The greens were tied in with the ribbon edge, the art (some letter press cards I found at a card shop here on Queen Anne) and the beautiful green glass knob from Anthropologie


I splurged and went for the 8$ knob because I knew I only needed one and the similar and cheaper one at Cost Plus was plastic (the description says it is glass but I didn't think so) and I didn't like the weight of it (I know, I'm such a snob). 

 I wanted something bright and bold but I just couldn't pull the trigger completely. Perhaps I'll get better as I decorate more. We have big plans for this space in the future but those will have to wait for the big $$. I love the brightness of the white walls and the punch of the curtain. I smile every time I use the room. There is one more little thing to add (to tie the green in even more completely) but that is a surprise you will just have to wait for.

What do you think? Should I have gone all the way with something bold and patterned on the wall? Or is the curtain enough? This room counts as one more win in the yay for color column in this house so I'm glad I didn't take too much of a risk but who knows, maybe I'll go more bold when I do this space over again. I love that about small spaces, you can make them over again and again and again. Anyone else have a good before and after? I love seeing a room come together.

Cheers!

Friday, August 12, 2011

Good Eats Challenge Week 7: Biscuits

There is nothing so good as warm flaky biscuits right out of the oven and this recipe is sure to please. We actually made these last week but life got the better of me and I never managed to post about them. They were great, we used them for our morning toast all week. Yum!


Here's the official recipe:

  • 12oz all purpose flour
  • 4 tsp baking powder
  • 1/4 tsp baking soda
  • 3/4 tsp kosher salt
  • 1 oz unsalted butter chilled
  • 2 oz shortening chilled
  • 1 cup buttermilk chilled


The process:

Step 1: Preheat oven to 400F
Step 2: Whisk the dry ingredients into a bowl.
Step 3: Cut in butter and shortening. He uses his hands but I like my pastry cutter. Here's Daniel working that dough.
 Once your dough looks like this you are done

Step 4: Make a well in the middle and pour in butter milk. Mix until just combined.
Step 5: Turn out dough onto a lightly floured surface and kneed gently until dough is soft and smooth
Step 6: Press into 1 inch thick round and cut out biscuits. Place biscuits on a sheet pan so that they are touching and gently press a dimple into the top with your finger


See the dimple? 

Step 7: Bake until golden on top, 15-20 min. Serve warm.


Golden flaky deliciousness!


We served ours with gravy, but as Alton Brown says, that's another show.
Cheers!

Taking The Day...

I'm off to enjoy my quiet house (the parents visit got canceled=BOO!) and rest. The downstairs bath is almost finished. I slowed down when I realized no one was coming so that last coat of paint is still needed but it is already looking fabulous. Once I wrap it up I'll have some before and afters for you and let you in on our next big project! I'll give you a hint

here

Have a great weekend everyone!
Cheers!