
Building the fence was probably the most rewarding part of this whole back yard process. That is probably because it was also the final step in the construction phase. It was also seriously confusing. Building a fence on a sloped property can go two ways: angled or stepped. You can see which one we chose.

Here's why:

See that white car to the left of the frame? That is where our neighbors park their car. Unfortunately for us their land is slightly higher up than ours (the street slopes down to form a V with us basically at the bottom). They are about 6 feet higher than us which meant unless we stepped the fence we would basically look at their car all the time. And you know how much we are in to our privacy around here (as evidenced here and here). Of course, when we put the posts in we put in standard sized fence posts not thinking how it would look with the lattice hanging out over the top. Not pretty (I was so disgusted by it I didn't even take a picture in my rush to get to Home Depot for a remedy). You can probably tell the solution by the next picture.

No? Basically it involved two things, those metal brackets on the posts and the 1X4 across the top. Before I added the extra length to the posts they ended at the brackets. You can imagine how awkward the fence looked with 3 feet of lattice floating unfinished on top (not to mention unstable since it flapped in the wind every time it blew). The 1X4 across the top gives it a nice finished look which made me happy.
As to how the rest of the fence got made, we ended up with enough usable boards from the old fence to construct the new one. It actually made things easier than buying pre-made fence panels because the slope would have made anything pre-made a struggle to fit.
After sorting through the wood we had we cut each piece down to fit the panel it was for. The slope made this a little difficult but we just tacked the lattice up first and then lay the boards against the lattice and marked how tall they should be. Once they were cut down (and numbered so we knew which one went where) we screwed them in to two 2x4s. We traded off jobs so that one of us cut and while the other drilled.
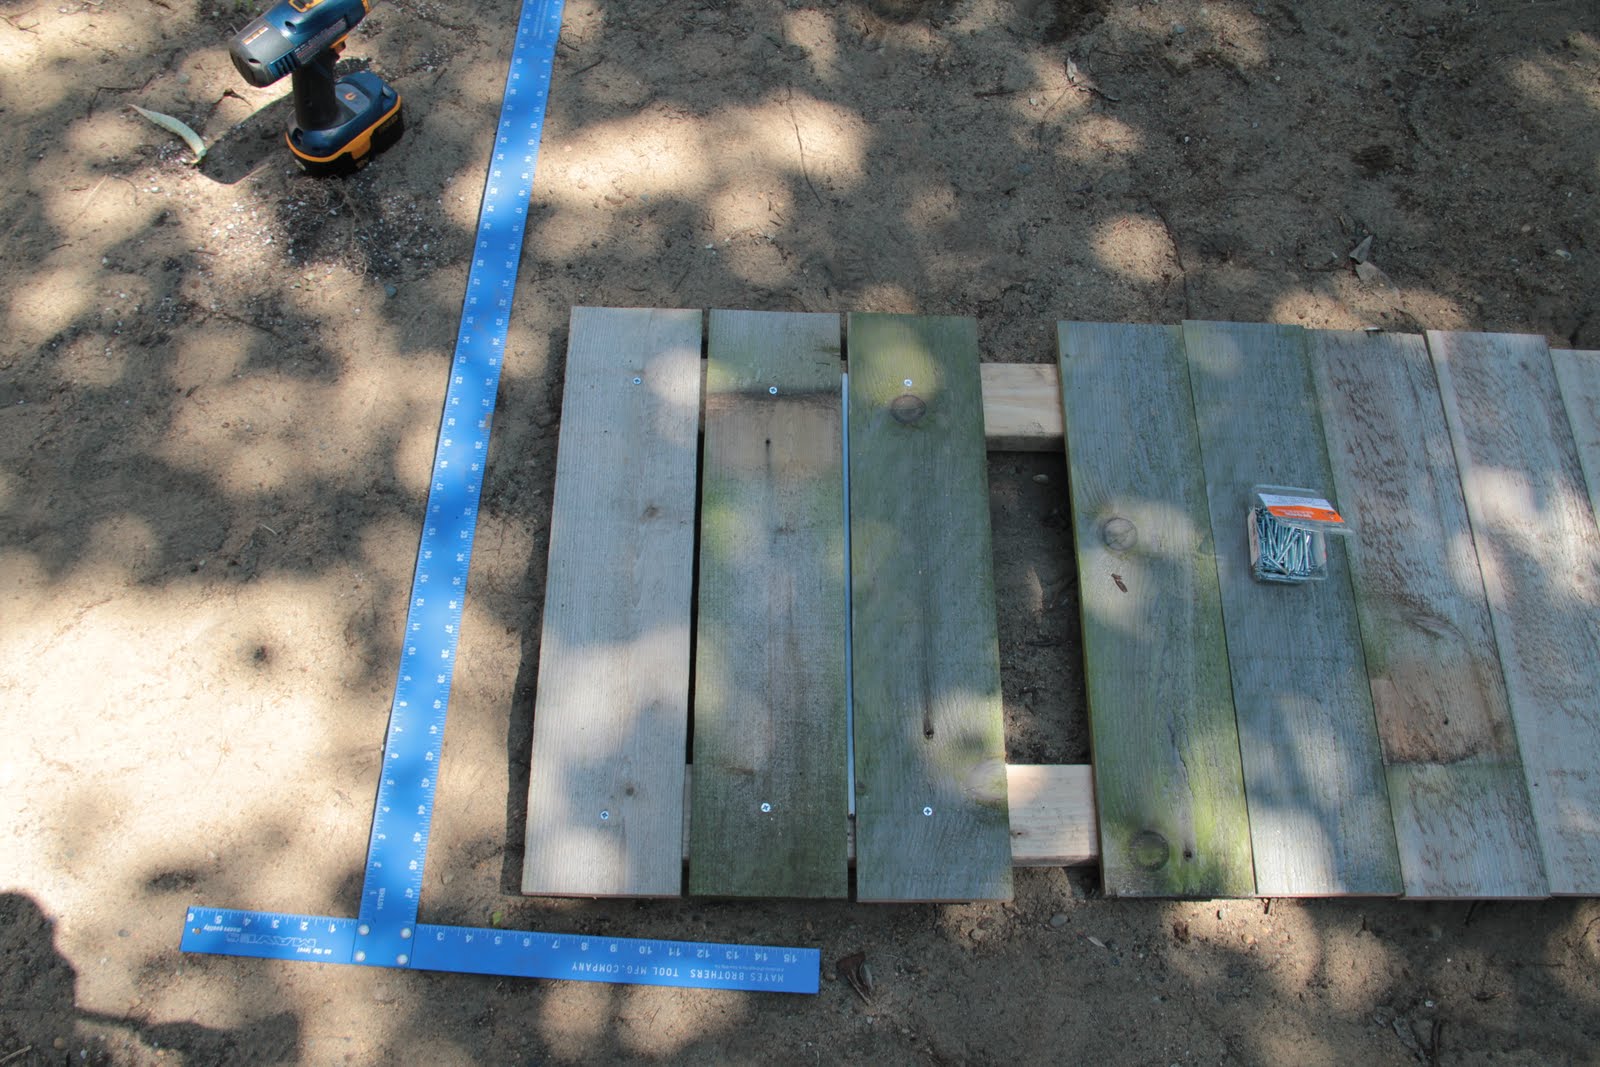
To get the spacing right I used the cover of our pruning saw as a spacer (that little white strip between the boards).

Once the panel was complete we screwed it in beneath the lattice and were done. You may have noticed we didn't put up the 1x4s on the back fence. That was on purpose. We have bamboo planted there and we wanted it to look as natural as possible. One day we will look out our back yard and not see that house behind us. Thankfully bamboo grows fast. All the shoots above the fence line have come up since we moved in three months ago.

Not only was using the reclaimed wood economical (we only had to by the lattice and 2x4s) it saved us the hassle of hauling the wood away and personally I like how it looks. The boards are all different colors and it adds an almost rustic feel to the whole thing. I'm hoping to get the place cleaned up and planted this weekend since my parents are coming for a visit and then my mom and I are off on a road trip. I have a whole list of things to finish before they get here including painting and finishing the downstairs bath. Today however I get to go into my sometime work and play with chocolate to get ready for the upcoming holiday season. I'll post on that soon.
Cheers!
thanks for the information and ideas that you gave, it really helped me in doing my job.
ReplyDelete